Ladies the world of extensions as we know it is improving more and more. We went from traditional sew-ins, closures, frontals and now 360 Frontals. BUT WAIT! What about my ladies that want that natural look around the perimeter of their head but can’t handle the pain of sew ins? Or maybe you get bored with your hair and like changing it up. I’m about to take you ladies down a journey of something so beautiful and natural that you all will want to try it.
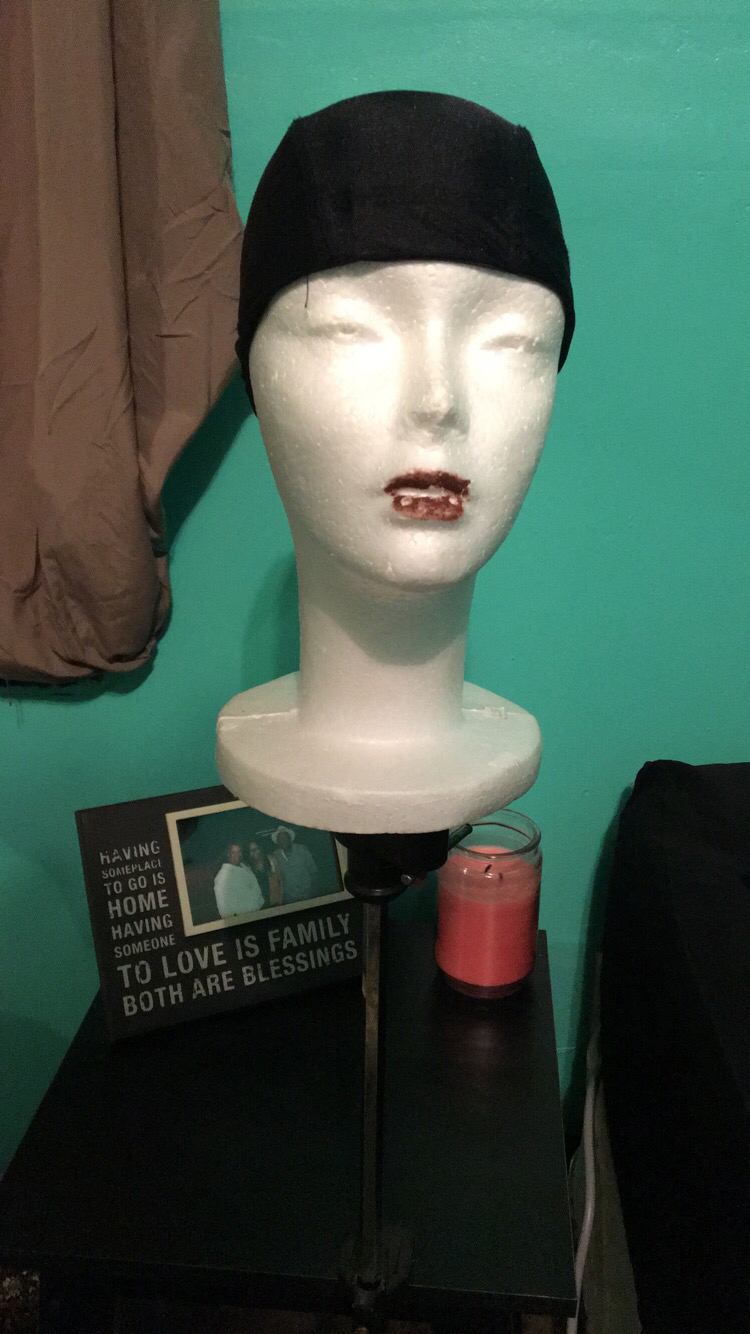
To all my wig lovers and newcomers this is where we start. You need a mannequin head and a dome cap. Place the dome cap on the head exactly how you would place it on your head. This dome cape will act as the middle piece or the wig.
Now you want to pin your 360 Frontal down around the head. You want the front and back of the Frontal to hang over the dome cap where it is not visible. Braiding the hair down will help to have a better handle of the Frontal.

At this point you want to sew the inside peremiter of the 360 Frontal onto the dome cap. Be sure to sew the stiches close together to avoid lumps.

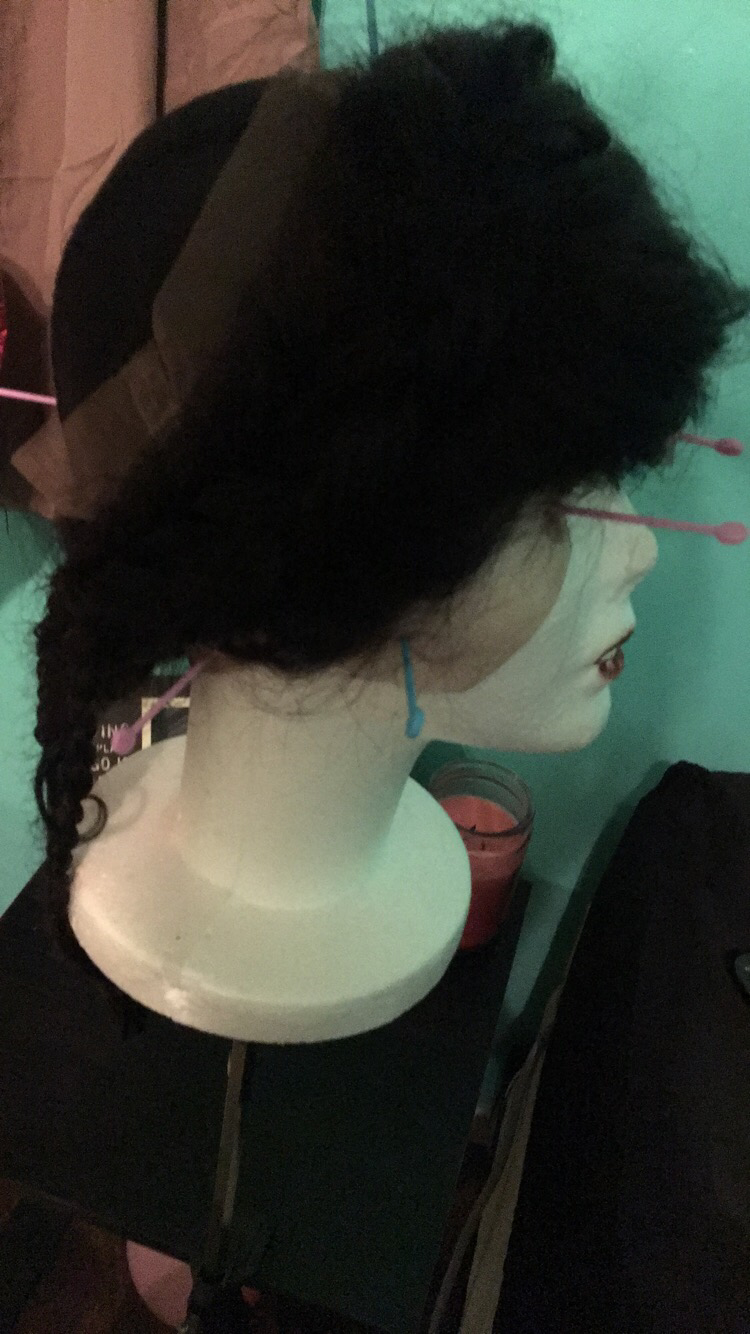
Now this is the part that’s going to have your 360 Frontal looking like a sew-in. Grab your extensions, needle and thread and begin sewing the hair into a “U” shape. Continue doing this until you’re halfway up the dome cap.


After putting in one bundle this is what I have ladies. It already looks full. Now I’m going to switch up my stitching patterns. I will begin sewing the hair in horizontally until I reach the top.


With all of the hair installed I used about 3 bundles on the wig. The 360 Frontal came already pre-plucked which makes the hairline look very natural. I bleached and tinted the lace on the Frontal to help the lace ease onto the head of whomever wears this wig.
I had an amazing time making this 360 Frontal Wig for the first time and I’m really excited that I got to share it with all of you. I have a link below where you can see more footage of this wig.
http://us.vivavideo.tv/v/zX6f49ds/1/